Difference between revisions of "Simtac Miniatures"
Jump to navigation
Jump to search

m |
m |
||
| Line 8: | Line 8: | ||
<gallery> | <gallery> | ||
| − | image:MWW-110 - A.jpg|<center>MWW- | + | image:MWW-110 - A.jpg|<center>MWW-110<br>Space Dwarf Ia |
| − | image:MWW-110 - B.jpg|<center>MWW- | + | image:MWW-110 - B.jpg|<center>MWW-110<br>Space Dwarf Ib |
| − | image:MWW-110 - C.jpg|<center>MWW- | + | image:MWW-110 - C.jpg|<center>MWW-110<br>Space Dwarf Ic |
</gallery> | </gallery> | ||
<gallery> | <gallery> | ||
| − | image:MWW-111 - A.jpg|<center>MWW- | + | image:MWW-111 - A.jpg|<center>MWW-111<br>Space Dwarf IIa |
| − | image:MWW-111 - B.jpg|<center>MWW- | + | image:MWW-111 - B.jpg|<center>MWW-111<br>Space Dwarf IIb |
| − | image:MWW-111 - C.jpg|<center>MWW- | + | image:MWW-111 - C.jpg|<center>MWW-111<br>Space Dwarf IIc |
</gallery> | </gallery> | ||
<gallery> | <gallery> | ||
image:SIMT08.jpg|<center>Packaging example | image:SIMT08.jpg|<center>Packaging example | ||
</gallery> | </gallery> | ||
Revision as of 09:08, 10 October 2010

These guys were sold in blisters labled 'Macho Women with Guns'
Believe it or not !!
Sculpted by Bob Olley
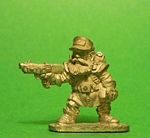
MWW-110
Space Dwarf Ia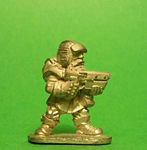
MWW-110
Space Dwarf Ib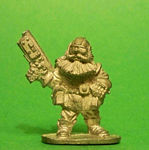
MWW-110
Space Dwarf Ic


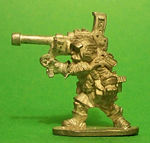
MWW-111
Space Dwarf IIa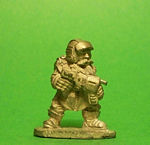
MWW-111
Space Dwarf IIb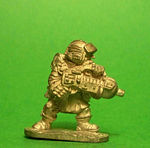
MWW-111
Space Dwarf IIc


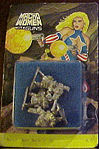
Packaging example
